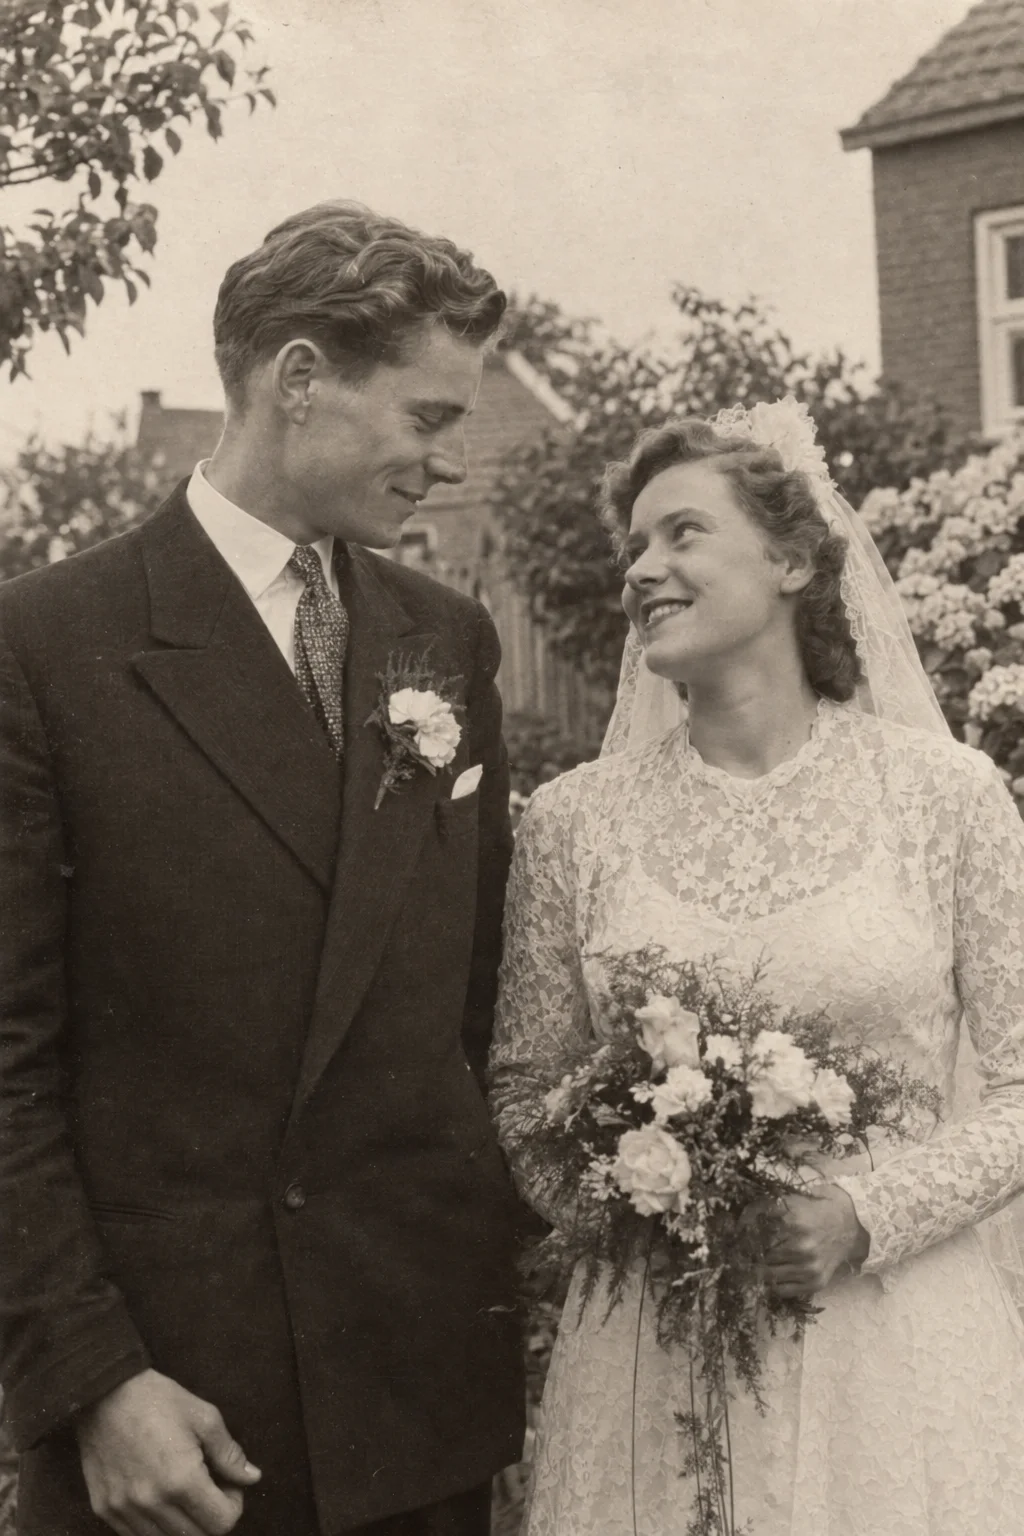
A few checks before uploading can prevent avoidable problems. The goal is to give the generation a clear image of the subject you mean, without confusing borders, tiny faces or a file in the wrong format.
Preparation does not have to become a restoration project. Start by preserving your original, then make only the changes that help the photograph read clearly. Keep imaginative changes separate from the record you want to save.
Check the actual format and dimensions
VividMemory accepts JPEG, PNG and WebP images up to 20 MB and 40 megapixels. File size measures the saved data; megapixels measure the number of image pixels. A compressed image can have a small file size while still exceeding the pixel limit.
For a quick check, multiply width by height. An 8,000 by 5,000 pixel image is 40 million pixels. If your image is larger, resize a working copy. Export unsupported formats through an image tool rather than just changing the extension in the filename.
Make the intended photograph unambiguous
Crop out the scanner bed, table or neighbouring album pictures. If the source is a collage, decide which single image matters for this creation. Keep enough room around the subject so heads, hands and the setting are not awkwardly cut off.
Straighten a tilted capture before judging the crop. Check faces after any resizing. A clean thumbnail is not enough if the people you care about disappear into blur when you view the saved file more closely.
Change less than you think you need to
Save an untouched reference. If you adjust brightness or contrast, compare before and after for lost facial detail. Heavy smoothing, sharpening or colour filters can replace the texture and expressions that made the photograph familiar.
The video may include corrections, but it cannot promise accurate recovery of hidden or damaged information. You do not receive a separate restored still-image export. For your archive, keep the source scan and its factual context.
Do a final subject check
Write down what you want the clip to focus on before creating it. That can be one face, the group as a whole or the atmosphere of a place. Use an optional short prompt for movement, not a long list of repairs or a full family history.
- Keep the original file outside your working copy.
- Confirm supported format, no more than 20 MB and 40 megapixels.
- Check the crop, orientation and visibility of important features.
- Choose six seconds using one from your allowance or ten seconds for two.
- Review the upload preview before starting generation.