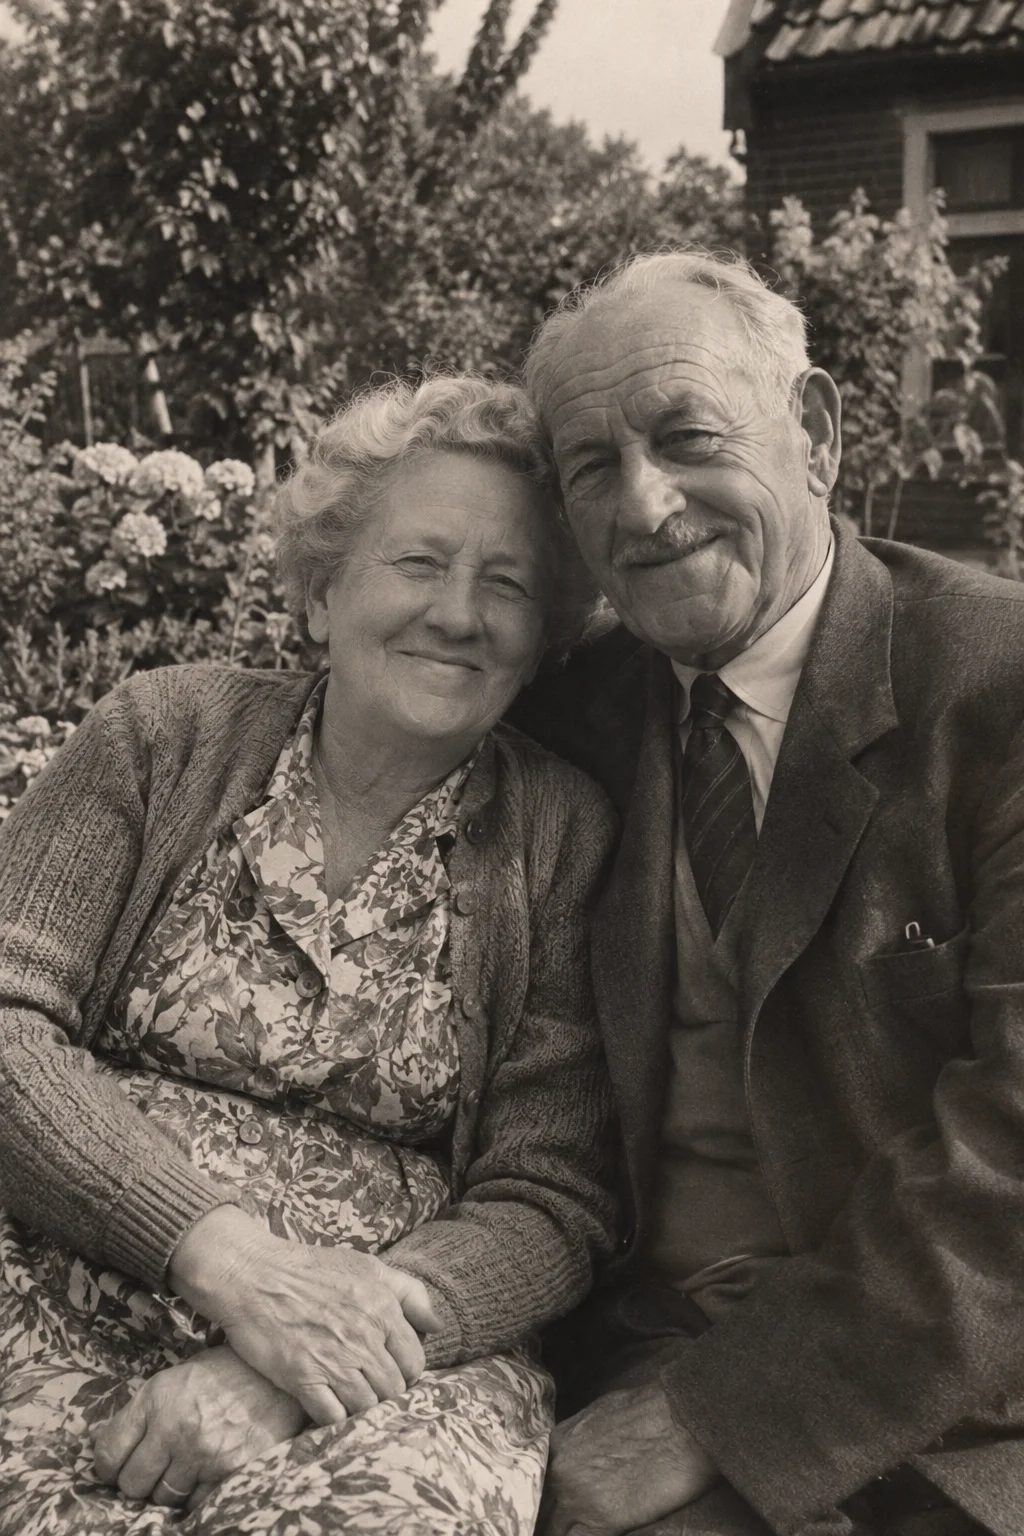
You do not have to digitise the whole family album before starting. Choose one print and give it a few minutes of attention. The aim is a clear digital copy, not a photograph of the table with a tiny family picture somewhere in the middle.
A phone camera records the print as it appears in front of you. Reflections, shadows and a tilted angle become part of that file. Checking those details now is more useful than hoping animation will remove them later.
Find even light and a steady position
Choose soft, even light across the photograph. Move away from a lamp reflection or direct glare on a glossy surface. If your phone or hand casts a shadow, change your position rather than brightening the whole image afterward.
Place the print flat where you can photograph it safely. Do not force a fragile album open or remove a stuck photograph just to get a better angle. For an image you cannot handle comfortably, consider help with digitisation rather than risking the original.
Keep the phone parallel to the print
Position the camera above the centre of the picture, with the phone facing the print straight on. A slanted view can make a rectangular photograph look trapezoidal and distort the people within it. Take a little extra space around the edges so you can straighten and crop a copy.
Tap the subject to check focus if your camera offers that control. Avoid digital zoom as a substitute for getting a clear capture. Take more than one photograph, then compare faces, fine lines and reflections before choosing your working version.
- Check that all four corners are visible.
- Look for glare over faces and shadows from your hands.
- Hold the camera steady and capture the print.
- Enlarge the result to inspect the subject, not just the outer edges.
Crop a copy and choose a supported format
Keep the original camera capture and make a separate prepared copy. Straighten it if needed, then crop away the table or album border. Avoid filters that dramatically change skin, contrast or texture before you have a clean reference.
VividMemory accepts JPEG, PNG and WebP up to 20 MB and 40 megapixels. If your phone saves another format, export or convert a copy to a supported format. Renaming the file extension does not convert its contents.
Save the context while the album is open
Write down known names, the place and an approximate date in a separate note. If there is writing on the back, capture that separately without treating it as the animation image. Use a filename or reference that keeps the front, back and note connected. An unknown detail is better labelled unknown than guessed.